Altair Inspire Studio Strikes a Chord
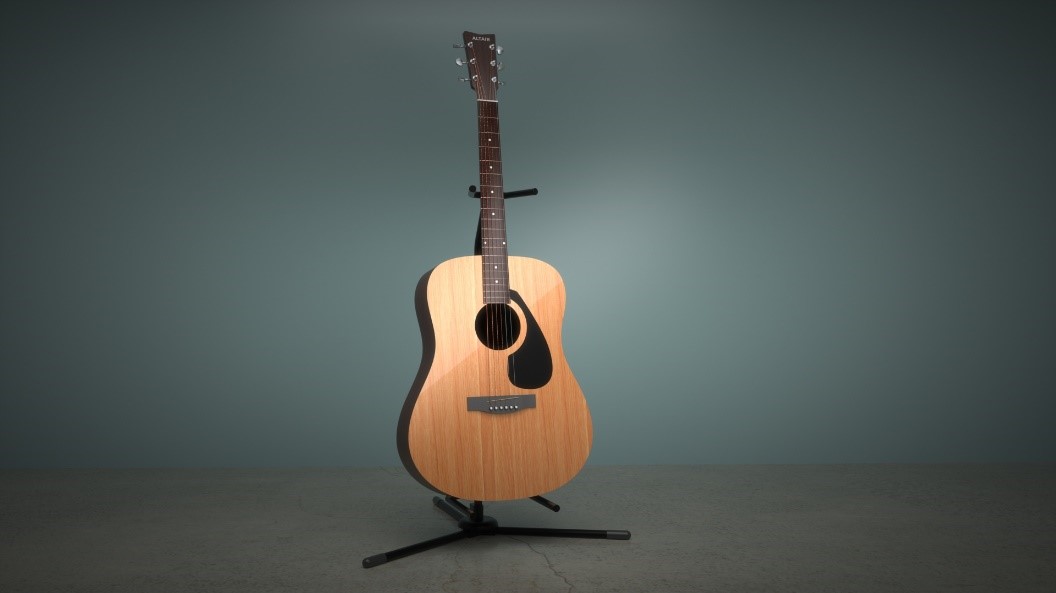
During these two tumultuous years, it’s safe to say many of us have brushed the cobwebs off forgotten hobbies thanks to the unexpected amount of spare time we’ve had on our hands. We’re sure many bedroom and campfire musicians out there have rediscovered their old acoustic guitar with delight. Us too, which is why we decided to design and render the humble acoustic guitar to study the advanced features and capabilities of Altair® Inspire™ Studio.
Inspire Studio is the new solution for innovative designers, architects, and digital artists to create, evaluate, and visualize designs faster than ever. With its unrivaled flexibility and precision, unique construction history feature, and multiple modeling techniques, it empowers users throughout the creative process. And by offering a sleek, efficient user experience, Inspire Studio suits novice and expert users alike. Each tool and workflow is optimized for an efficient design experience, from initial sketches, to exploring styling with polygonal, freeform, and PolyNURBS parametric modeling.
Altair and the Inspire tools are known for their simulation and optimization capabilities, and Inspire Studio unlocks their full potential by letting users parametrically design models from the ground up. Whether you’re starting with an idea, an image, or an optimized result, Inspire Studio brings your concept to life.
Creating the Guitar Body
We started by using a planar image of the main body to trace the guitar’s outline. A few thickening and trim operations took care of the main shape. We used some simple sketches and curves to define the main shapes of the neck, and this is where we first encountered Inspire Studio’s ability to create flexible designs; we created the surfaces we wanted, then edited the underlying sketches and observed the effects.
Designing the Fretboard
The fretboard of any guitar must be accurately designed to ensure the proper distance from each fret to the strings’ endpoints (bridge and nut). We used a calculator to find the exact distance between each fret location, and by using a single constrained sketch, we created individual lines that defined each fret. We then projected those lines onto the curved fretboard and used a sweep to create the 3D profile of the frets. Thanks to the CTRL+Spacebar command and simple workflows, we performed this process quickly and easily. We also created the fret markers using that original sketch to drive proper locations.
Polishing Strings and Other Details
Inspire Studio showed us what it’s really capable of when we created the more detailed parts of the guitar. It gave us the ability to create mechanical parts like the tuning key bases and nuts, let us combine them with the free form NURBS shapes, and made creating the tuning key geometry (the guitar’s most detailed part) a breeze. The control panel and guide bar helped us learn how to use each tool properly and when they weren’t quite enough, a quick F1 and the Help tab had all the info we needed.
Rendering the Finished Guitar
After we were happy with the geometry, we created a few planes for the floor walls of the room and a few extras to set lighting objects along the way. We set the materials and texturing easily by using the interactive rendering mode to view our changes in real-time. Setting the wood grains and colors took some time but once we set them up, Inspire Studio let us save them as custom materials we could use later. Everything in the images and videos you see below were created in Inspire Studio.
The Final Product
Below are this project’s final rendered images. As you can see, Inspire Studio can create an immense level of realism!


If you’re interested in trying out Inspire Studio, request a free 14-day trial here. Best of luck in whatever you create – go wild!


